How To Get Html Template In Vs Code
In this blog post, we will discuss how to quickly generate an HTML template in Visual Studio Code (VS Code). This can help you save time when creating new HTML files, as you won’t have to manually type out the basic structure of an HTML document.
Prerequisites
- Visual Studio Code: In order to follow along with this tutorial, you will need to have Visual Studio Code installed on your machine. You can download it from the official website.
Getting Started
Once you have Visual Studio Code installed, follow these steps to quickly generate an HTML template:
- Create a new file in VS Code by selecting File >New File or by using the keyboard shortcut Ctrl + N.
- Save the file with an .html extension by selecting File >Save As or by using the keyboard shortcut Ctrl + Shift + S.
- Type ! in the empty file, and you will see a drop-down list of suggestions. Select the first suggestion that comes up, which should be an HTML5 template.
After following these steps, you should have a basic HTML document structure that looks like this:
Customizing the HTML Template
If you want to customize the default HTML template that gets generated, you can create your own custom code snippets in VS Code. To do this, follow these steps:
- In VS Code, click on the gear icon in the lower-left corner of the window and select Settings.
- In the Settings editor, type “snippet” in the search bar, then click on the Edit in settings.json link under Editor: User Snippets.
- Click on the New Global Snippet file… button and provide a name for your snippet file.
- In the new file that opens, you can create your own custom code snippet for an HTML template. For example, you can create a snippet like this:
Save the file, and now when you type htmltemplate in a new HTML file, your custom template will appear as a suggestion.
Conclusion
In this blog post, we discussed how to quickly generate an HTML template in Visual Studio Code using built-in suggestions, as well as how to create your own custom code snippets for HTML templates. With these tools, you can save time when creating new HTML files and ensure that your basic HTML structure is consistent across all of your projects.
Disclaimer
This site earns money from ads and affiliate links. If you click on a link to a product we may make a small commission on your purchase. Thanks for supporting us.
Building HTML templates visually in visual studio code
Hello, devs do you find it hard to build web pages within a short period? Are you still using the boring process of writing Html & CSS code to develop a fully responsive and UI-friendly web page? Do you spend hours just to make a single web page responsive and mobile-friendly? There is good news! In the article, I will demonstrate how you can easily build a fully customizable product landing page within 5 minutes that too using a vs code extension named speedwapp the best part you don’t need to type the full code and follow the boring process. There is no such prerequisite for this article a simple knowledge of HTML & CSS is appreciated just make sure that you have visual studio code installed on your computer and if not you can download it from here.
A bit about speedwapp vs code extension
Speedwapp is an amazing website builder that allows you to build beautiful landing pages directly from their website or you can your their free vs code extension which will demonstrate here.
Adding the seedwapp extension to your vscode
Quickly open the visual studio code editor on your computer and navigate to the extensions section. If you are using a windows machine press ctrl+shift+x . Now in the search bar search for speedwapp and click on the install button
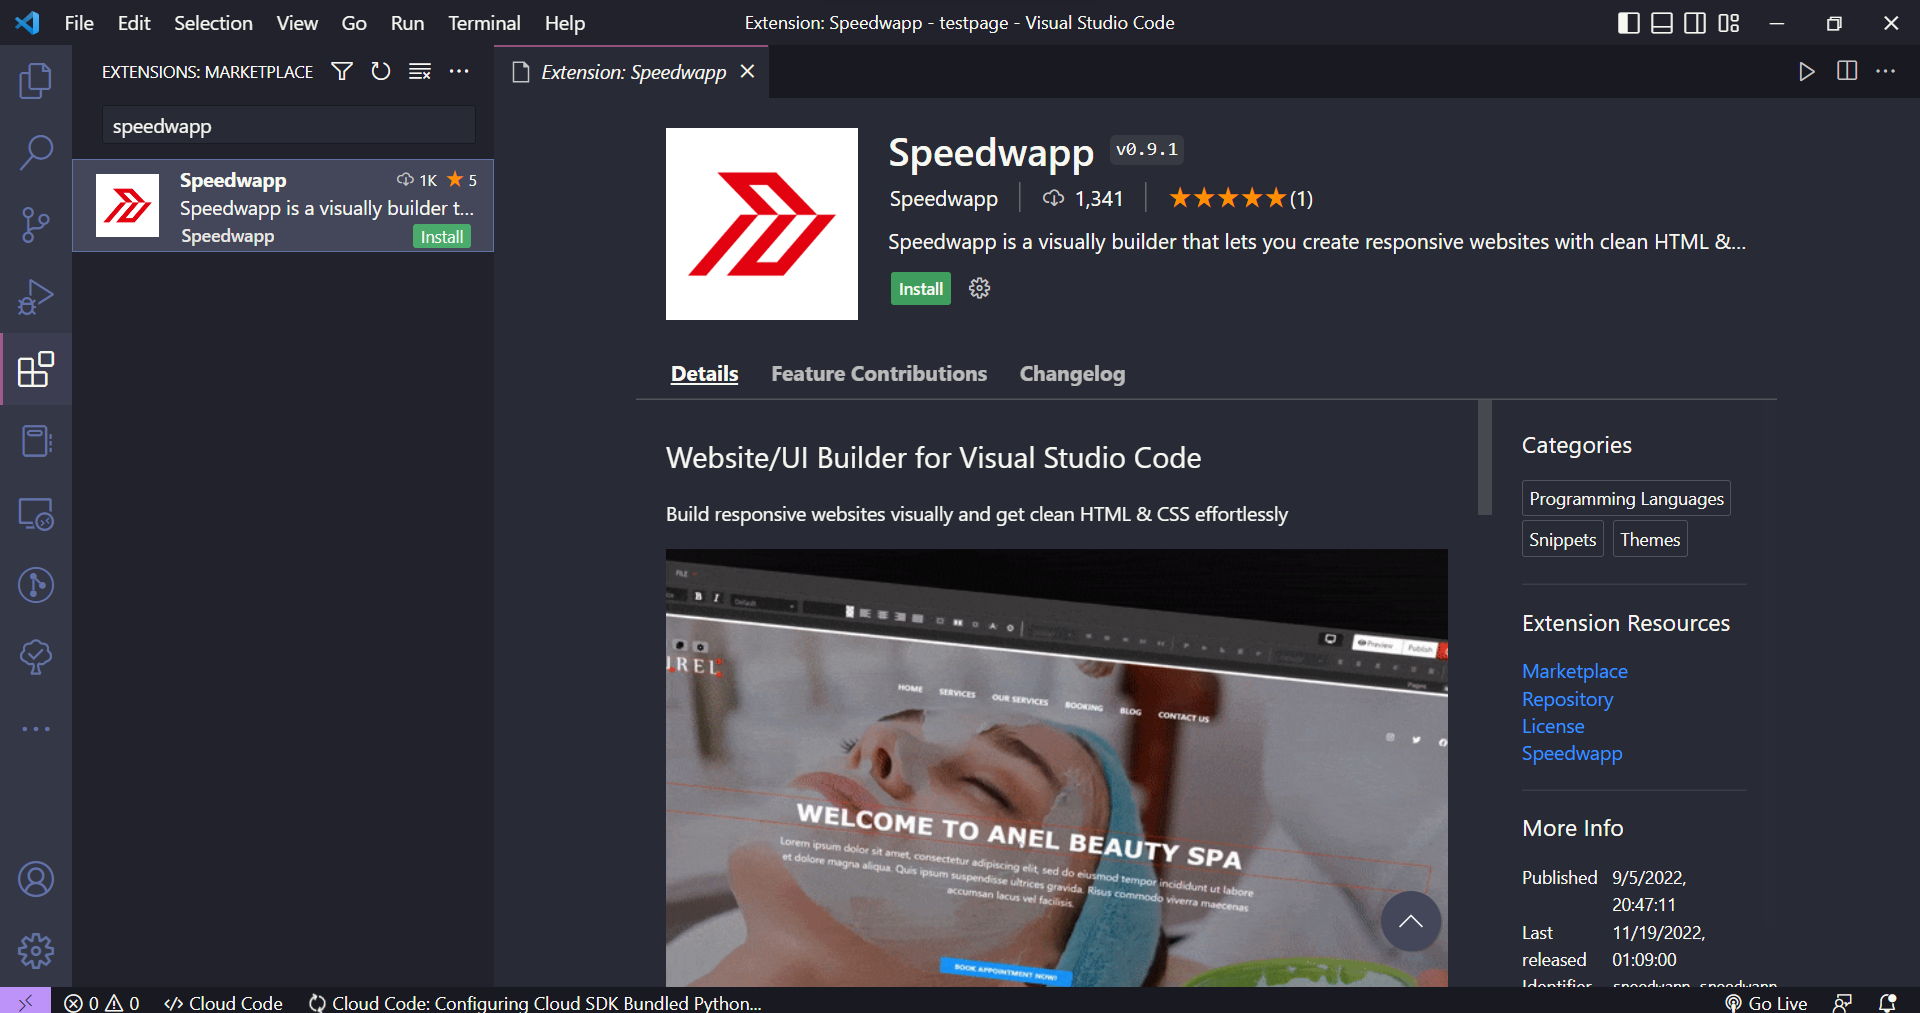
Once you have installed the extension you will be prompted to a login page so put your credentials there or you can also sign up if you don’t have an account.
Now press Ctrl+K N or Cmd+K N to create a new page using speedwapp
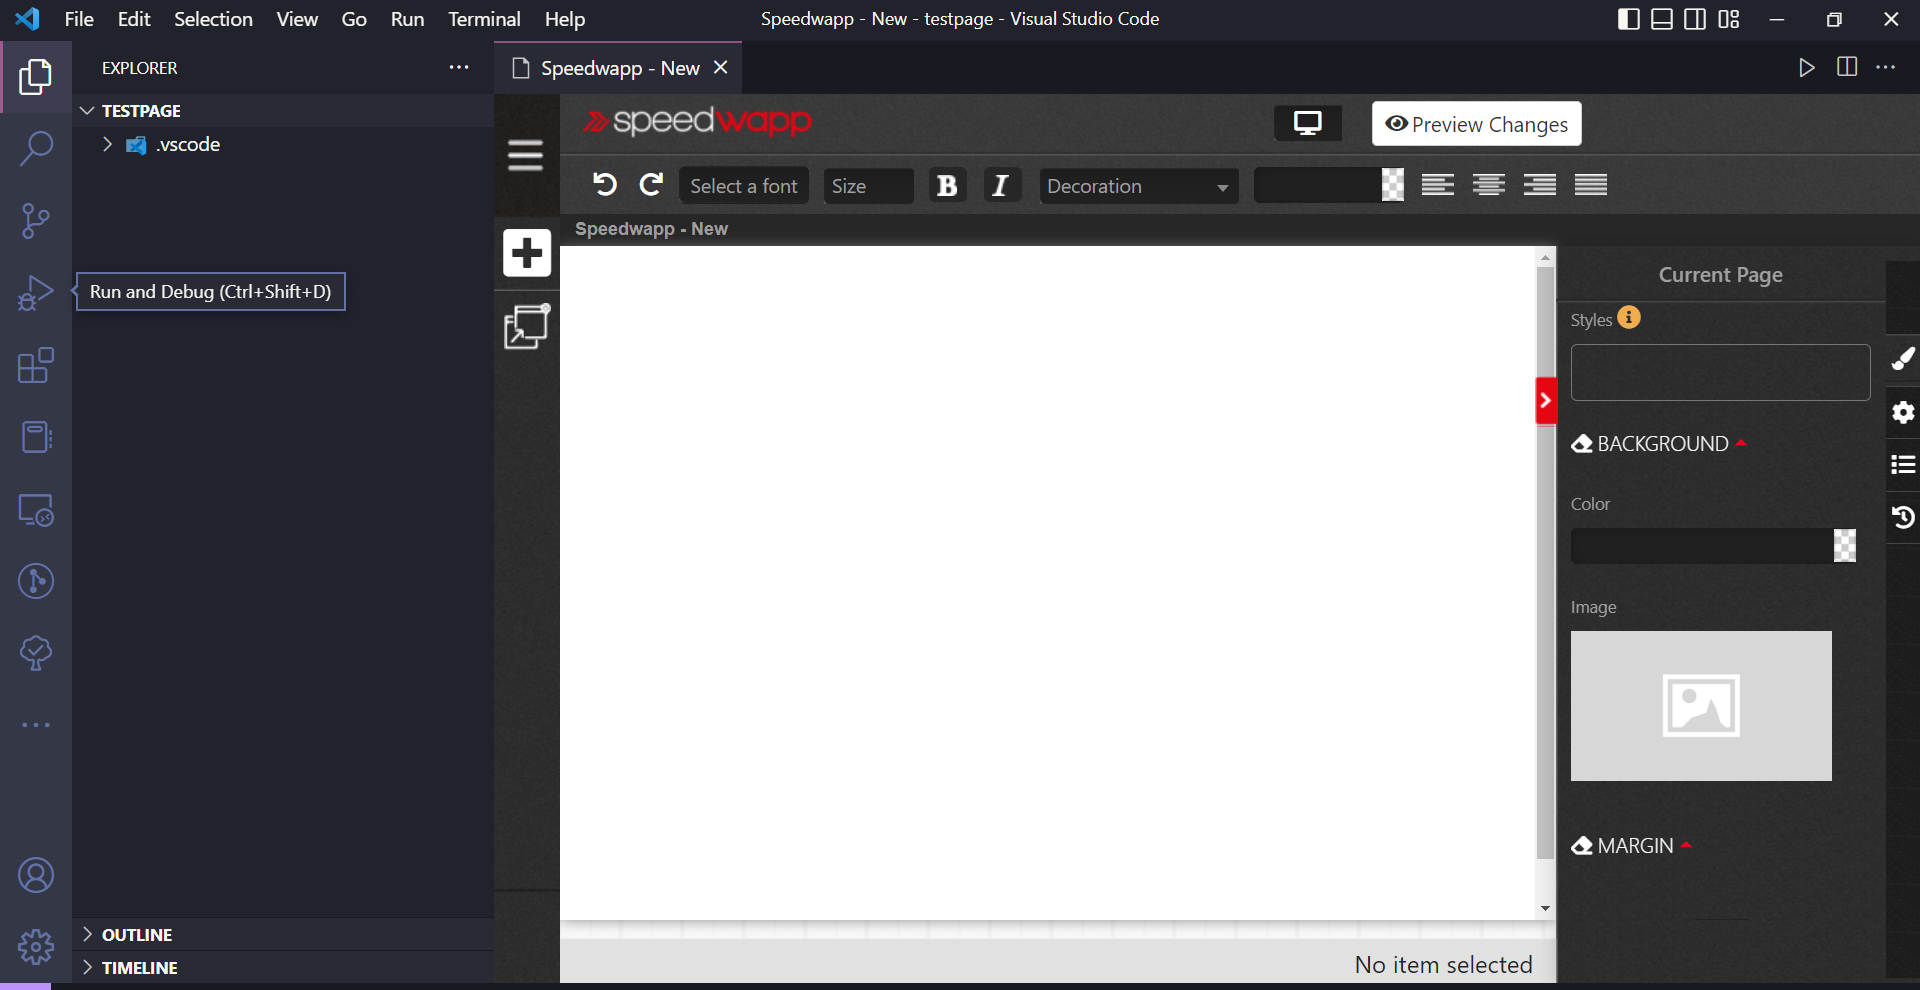
click on the + symbol to add pre-defined templates or html code blocks to your page. I will be using a pre-defined template and then gonna edit it on my own
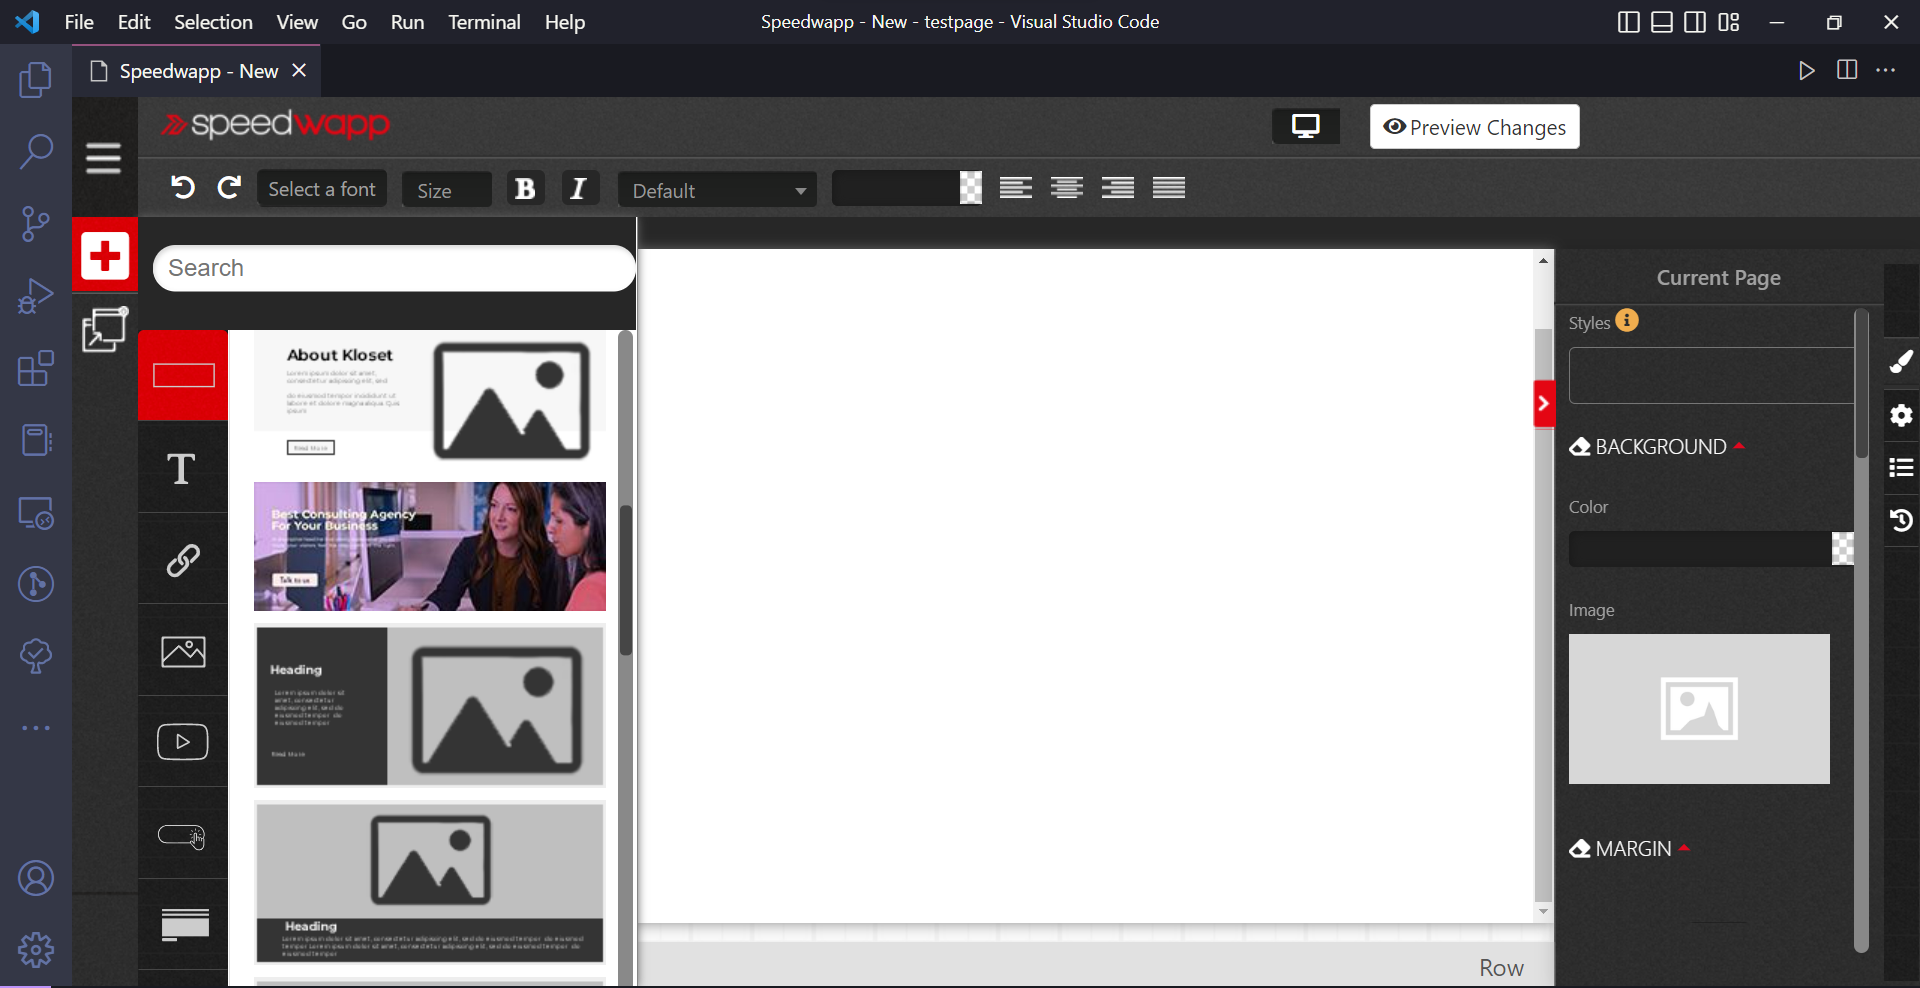
It looks a bit like this after I have imported one. Now let’s add a few more sections and then we will edit it.
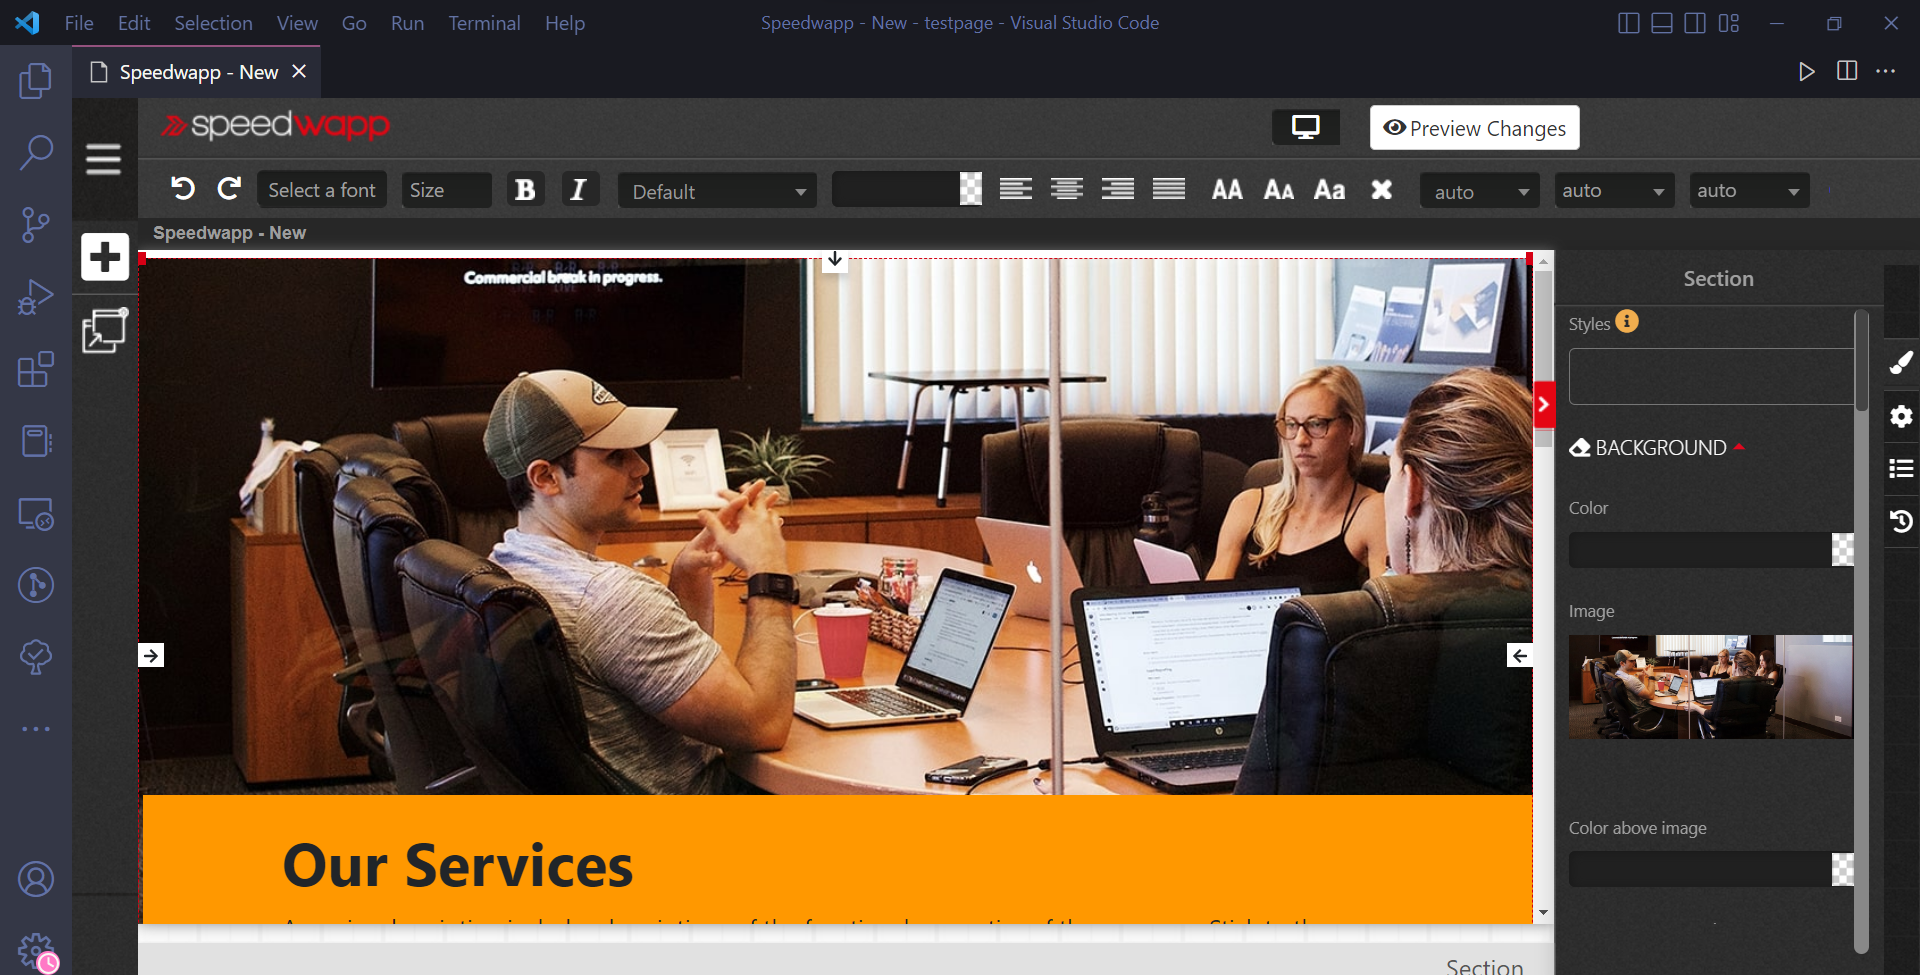
There in the bottom, you will see a small plus sign to add a new component so click on that and add a few more just like shown in the image below
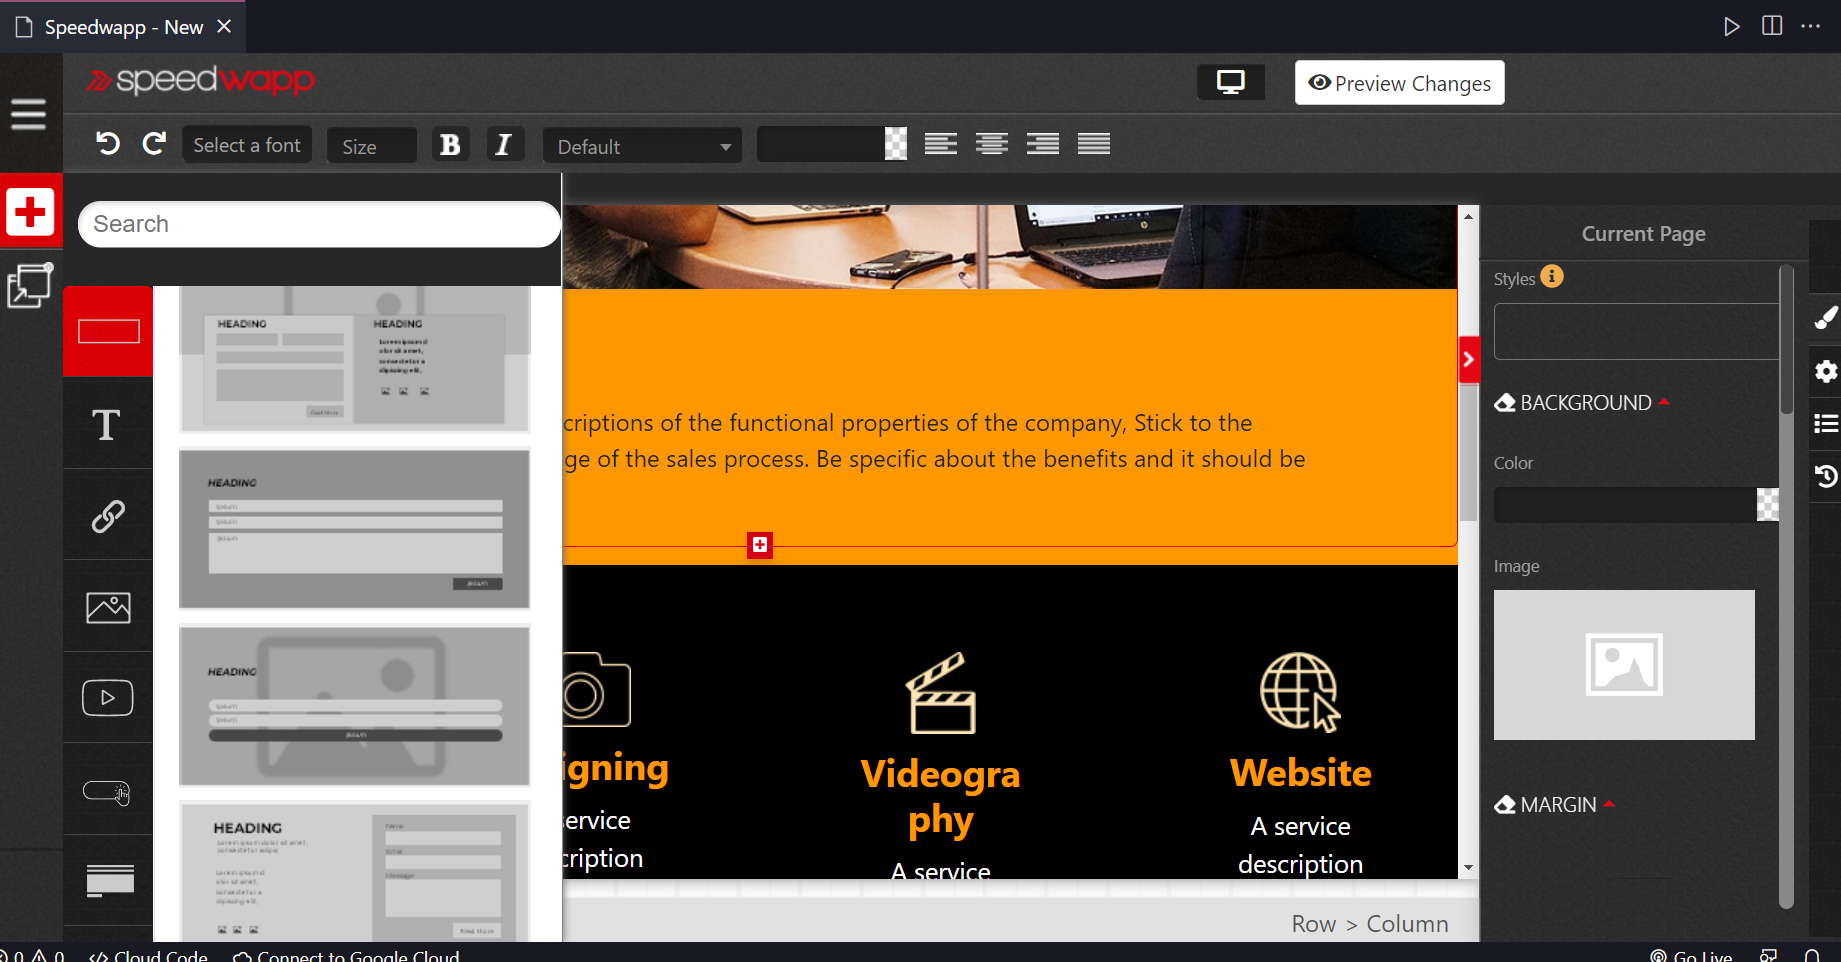
Now let’s edit it. So first, I want to change the background image of the first component and to do so click on the image you will see a panel on the left and there you can update it
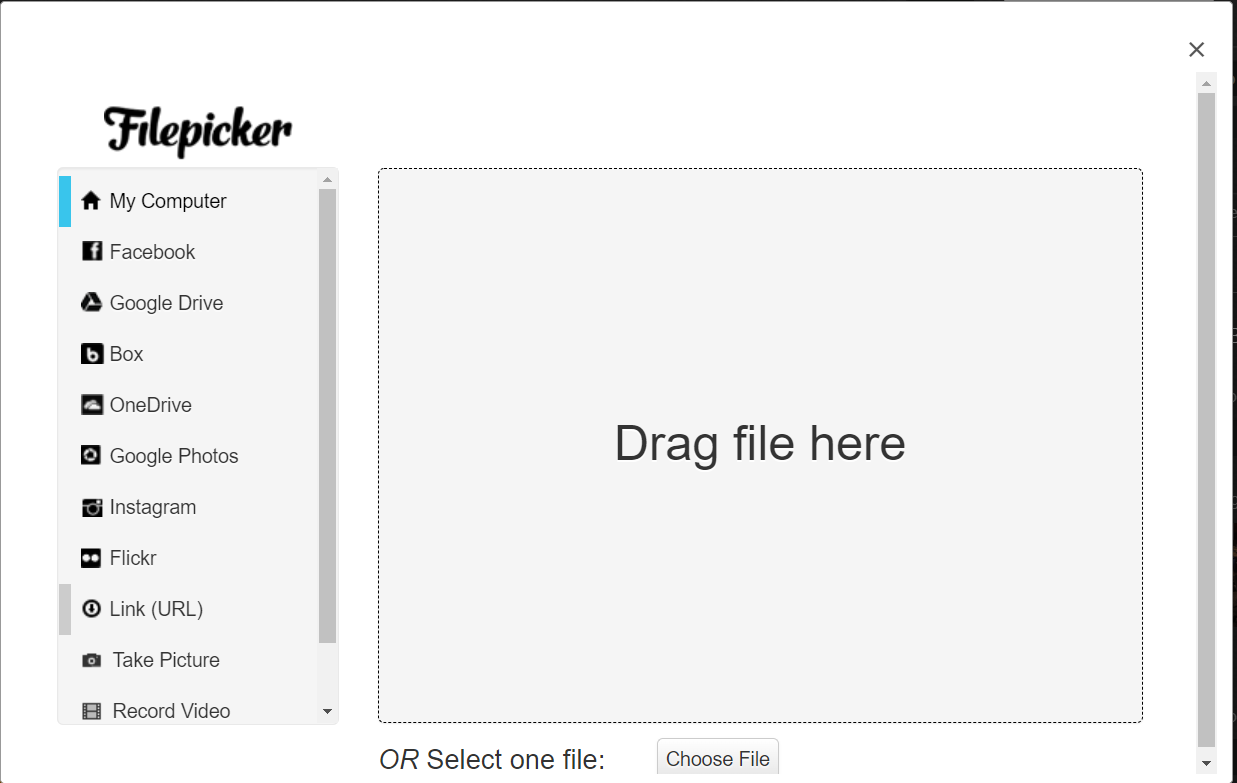
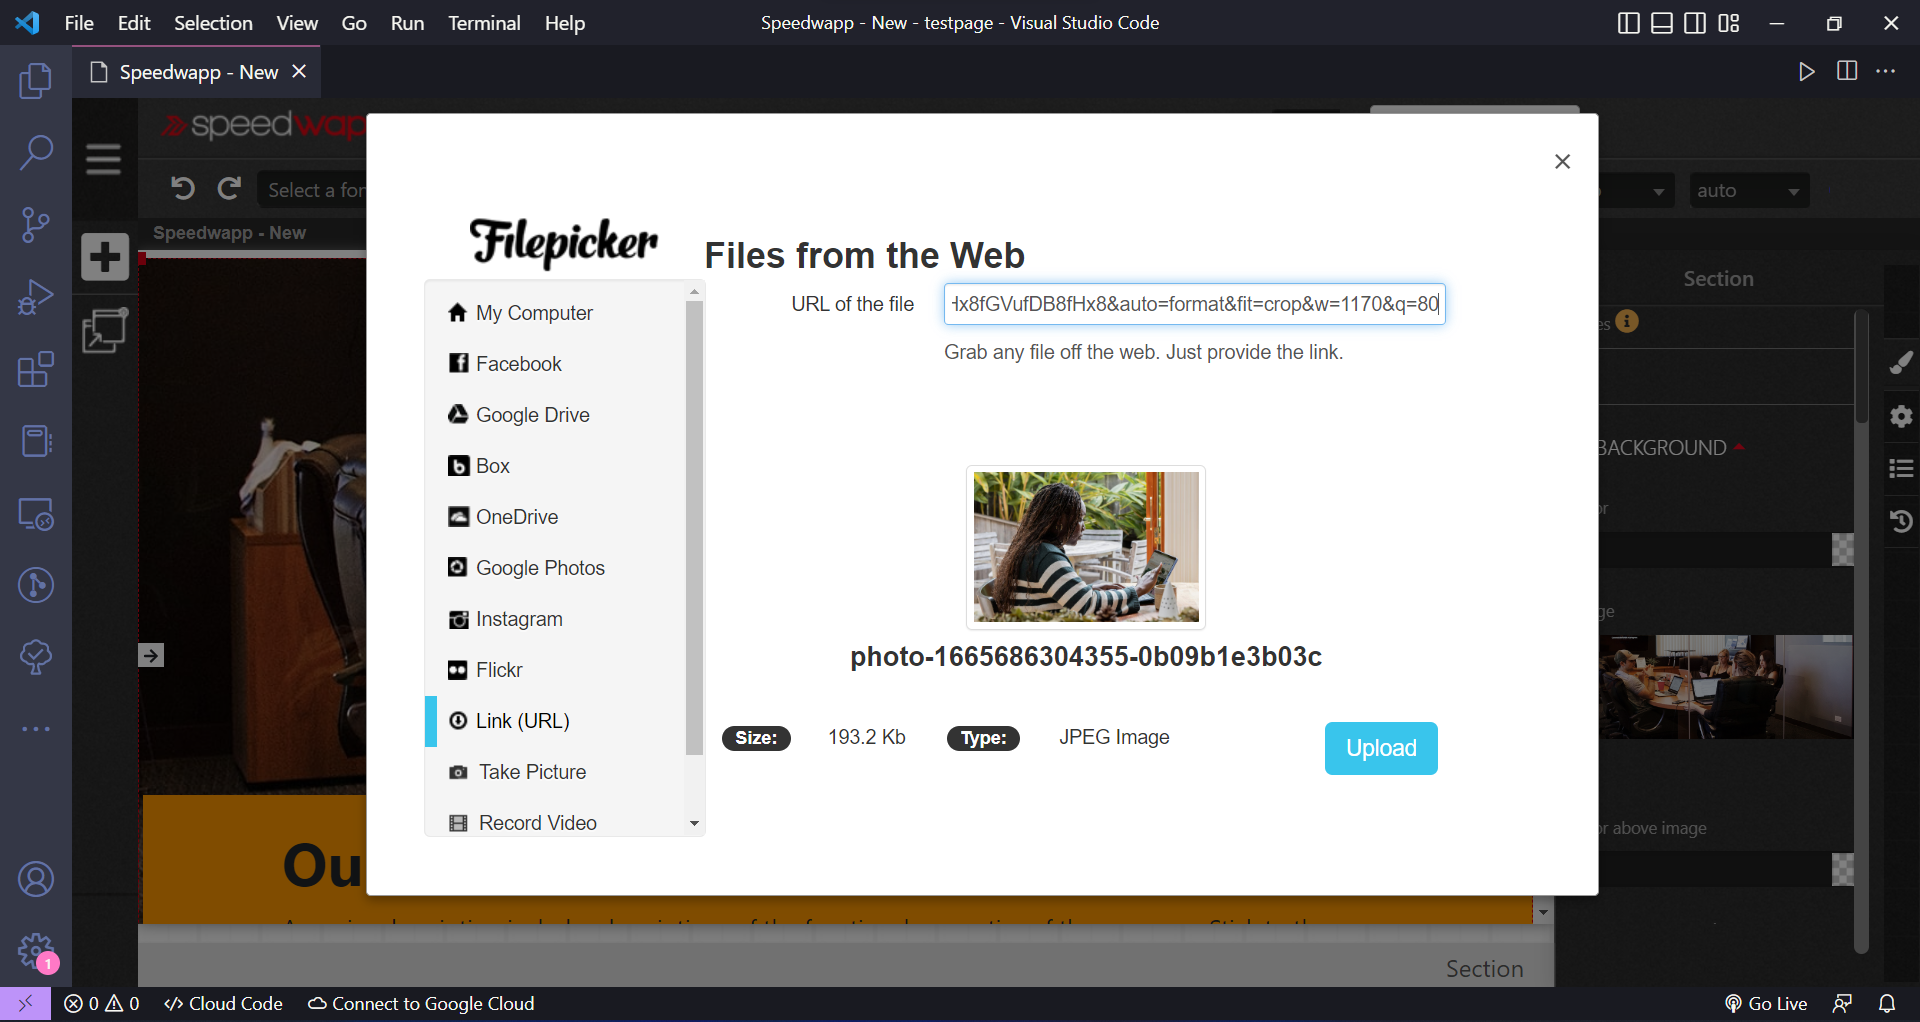
Now we got a pop-up like this and I will be using the image links so head over to unsplash and pick an image of your choice then copy the image URL and paste it into the link section and click on upload.
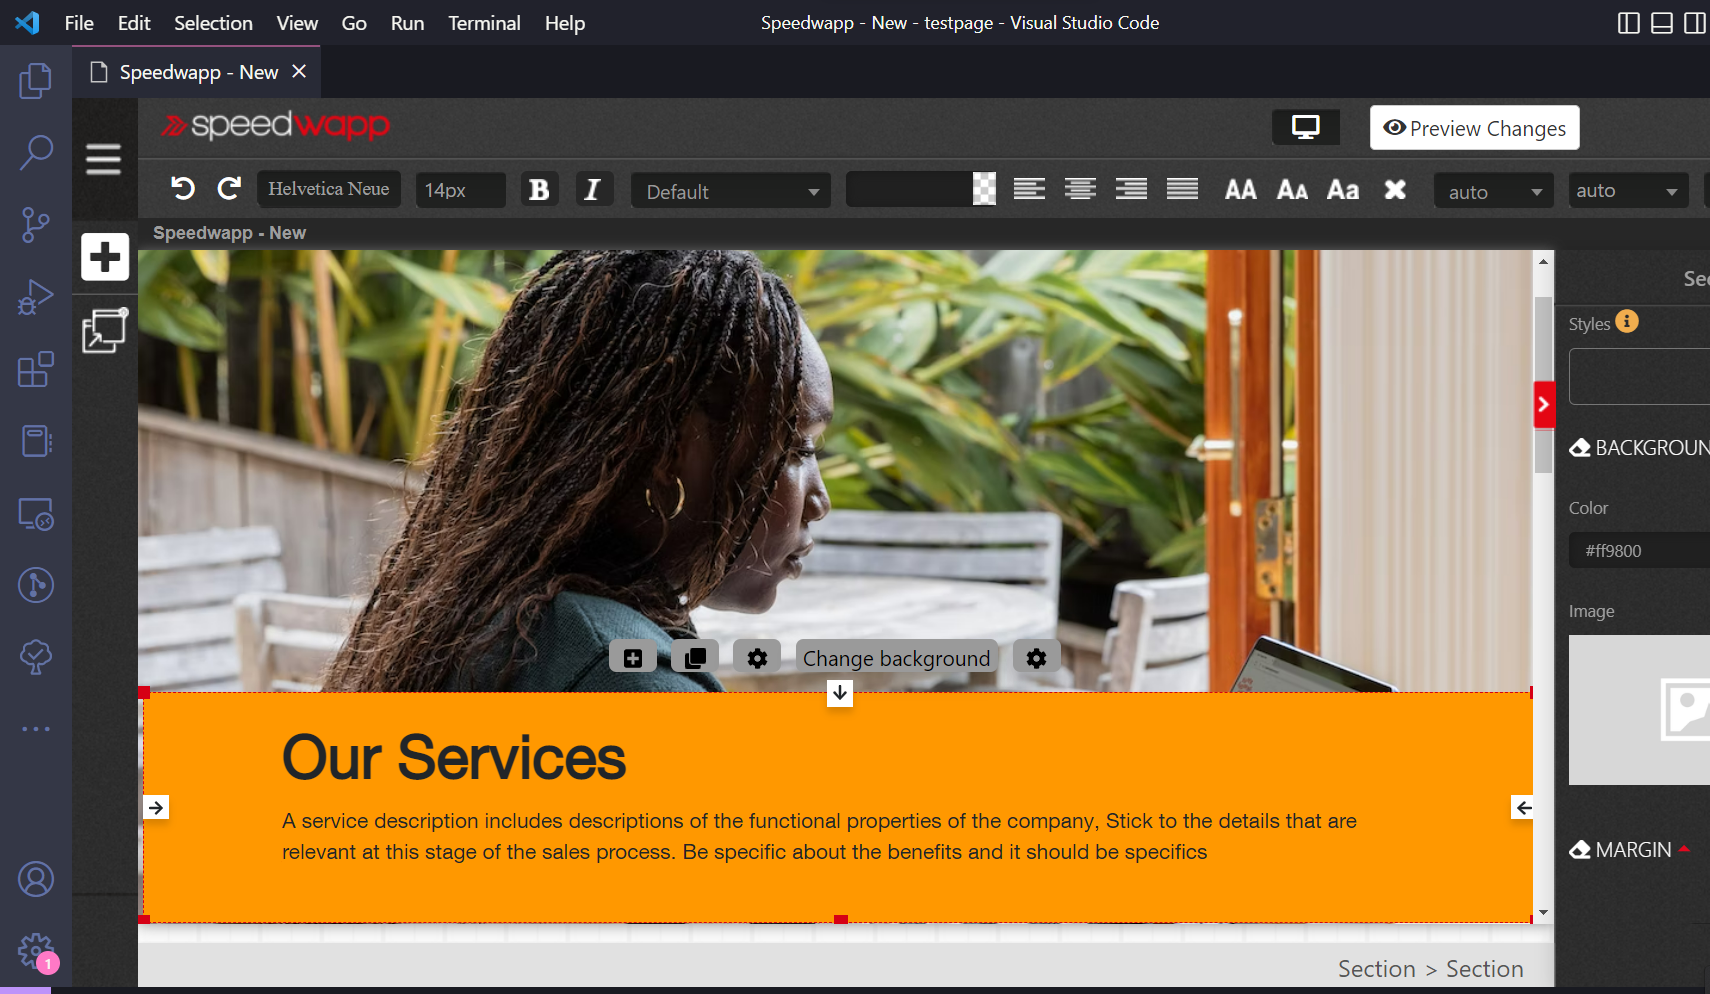
Now I want to change the font style and size of the services paragraph so click on that component and in the above you will see an option to select a font and size once you enter the values where the changes will be live.
Now let’s say I want to edit the content of the below section so click on the text and write whatever you want
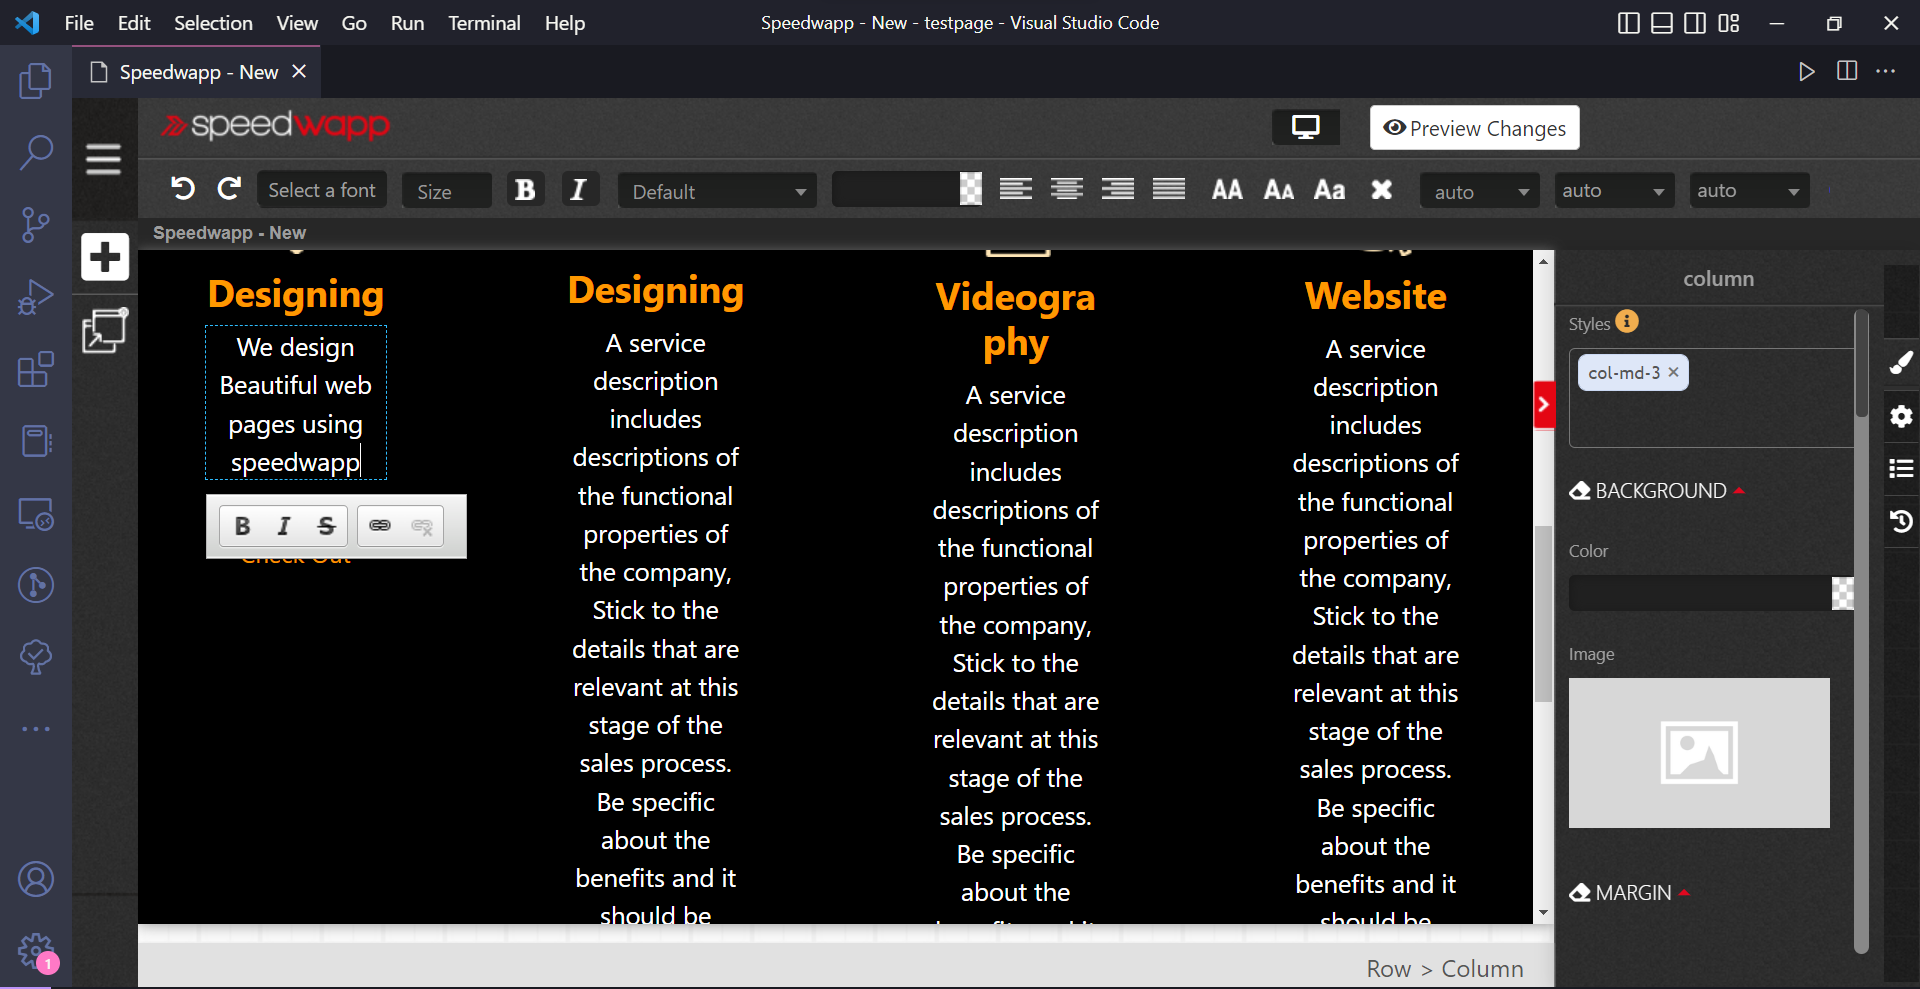
Now let’s add links to these checkout buttons so click on them and in the right side panel click on the properties and there select Link under the HTML tag section and finally, paste your links there
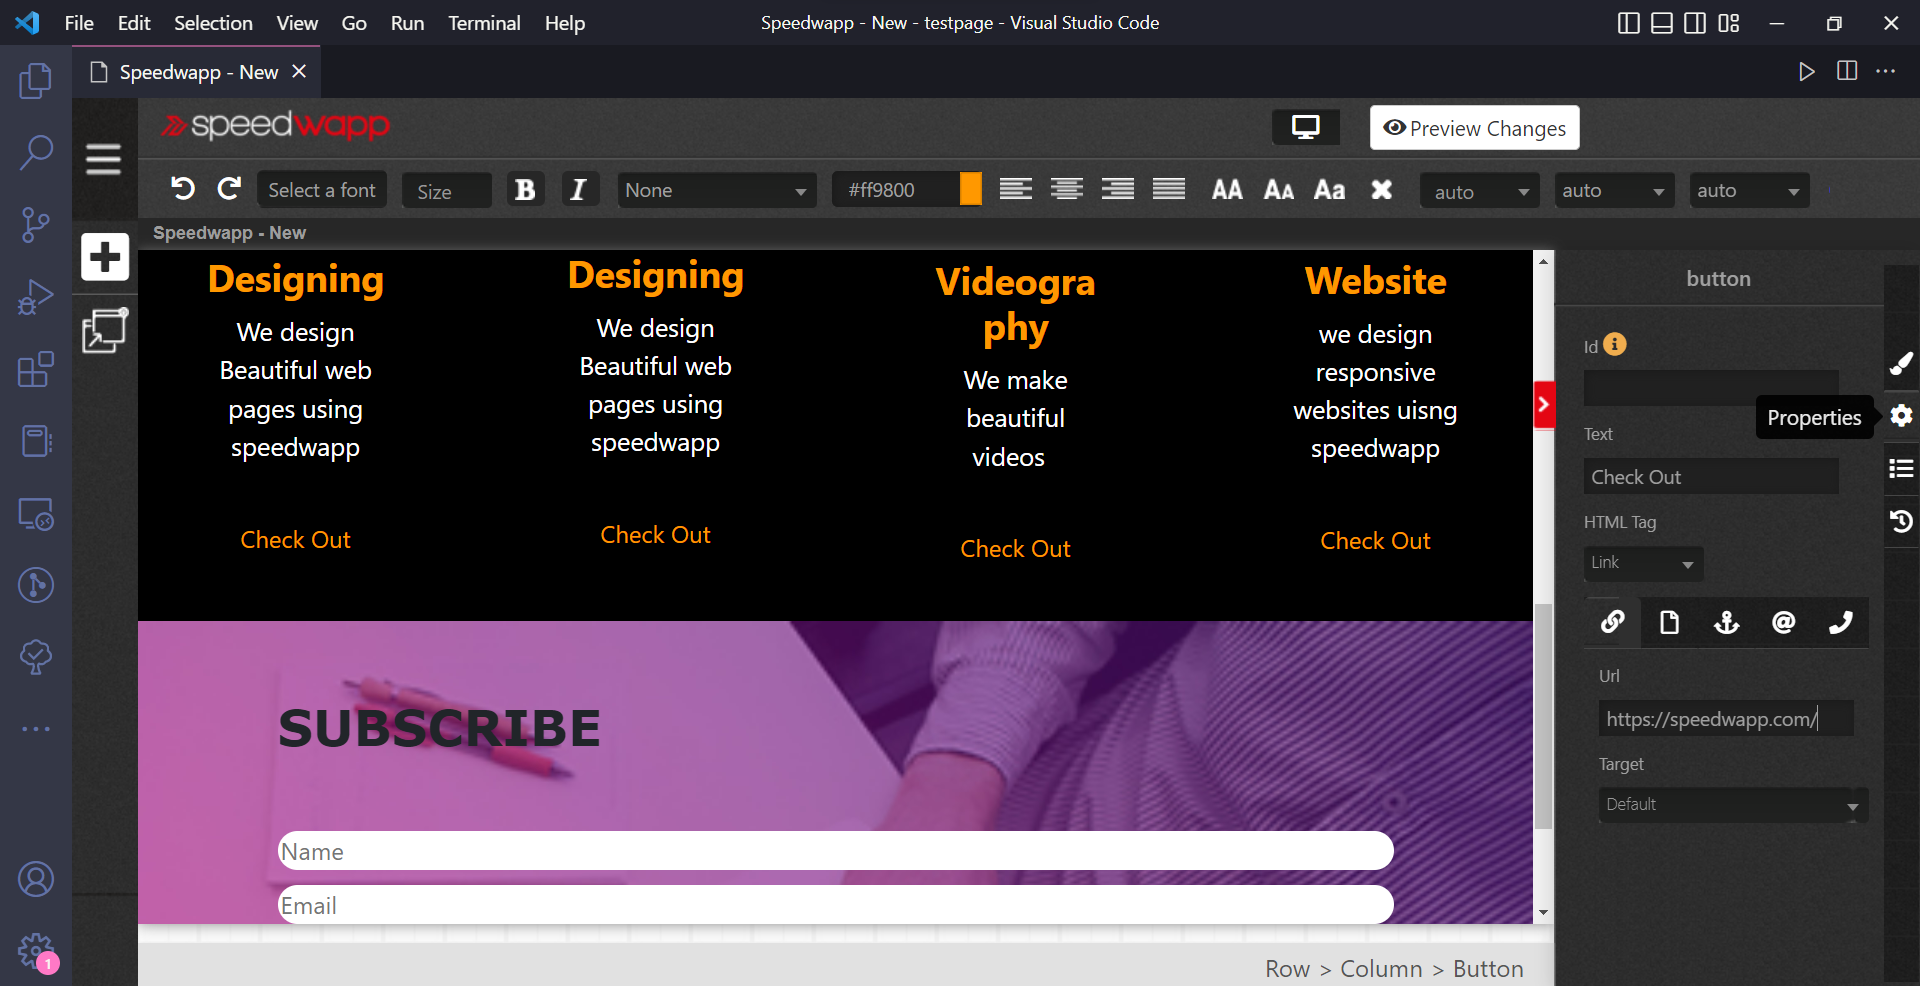
Now let’s edit the last section I want the button colour to be green so will click on that and side on styles on the left and there will change the button style to success.
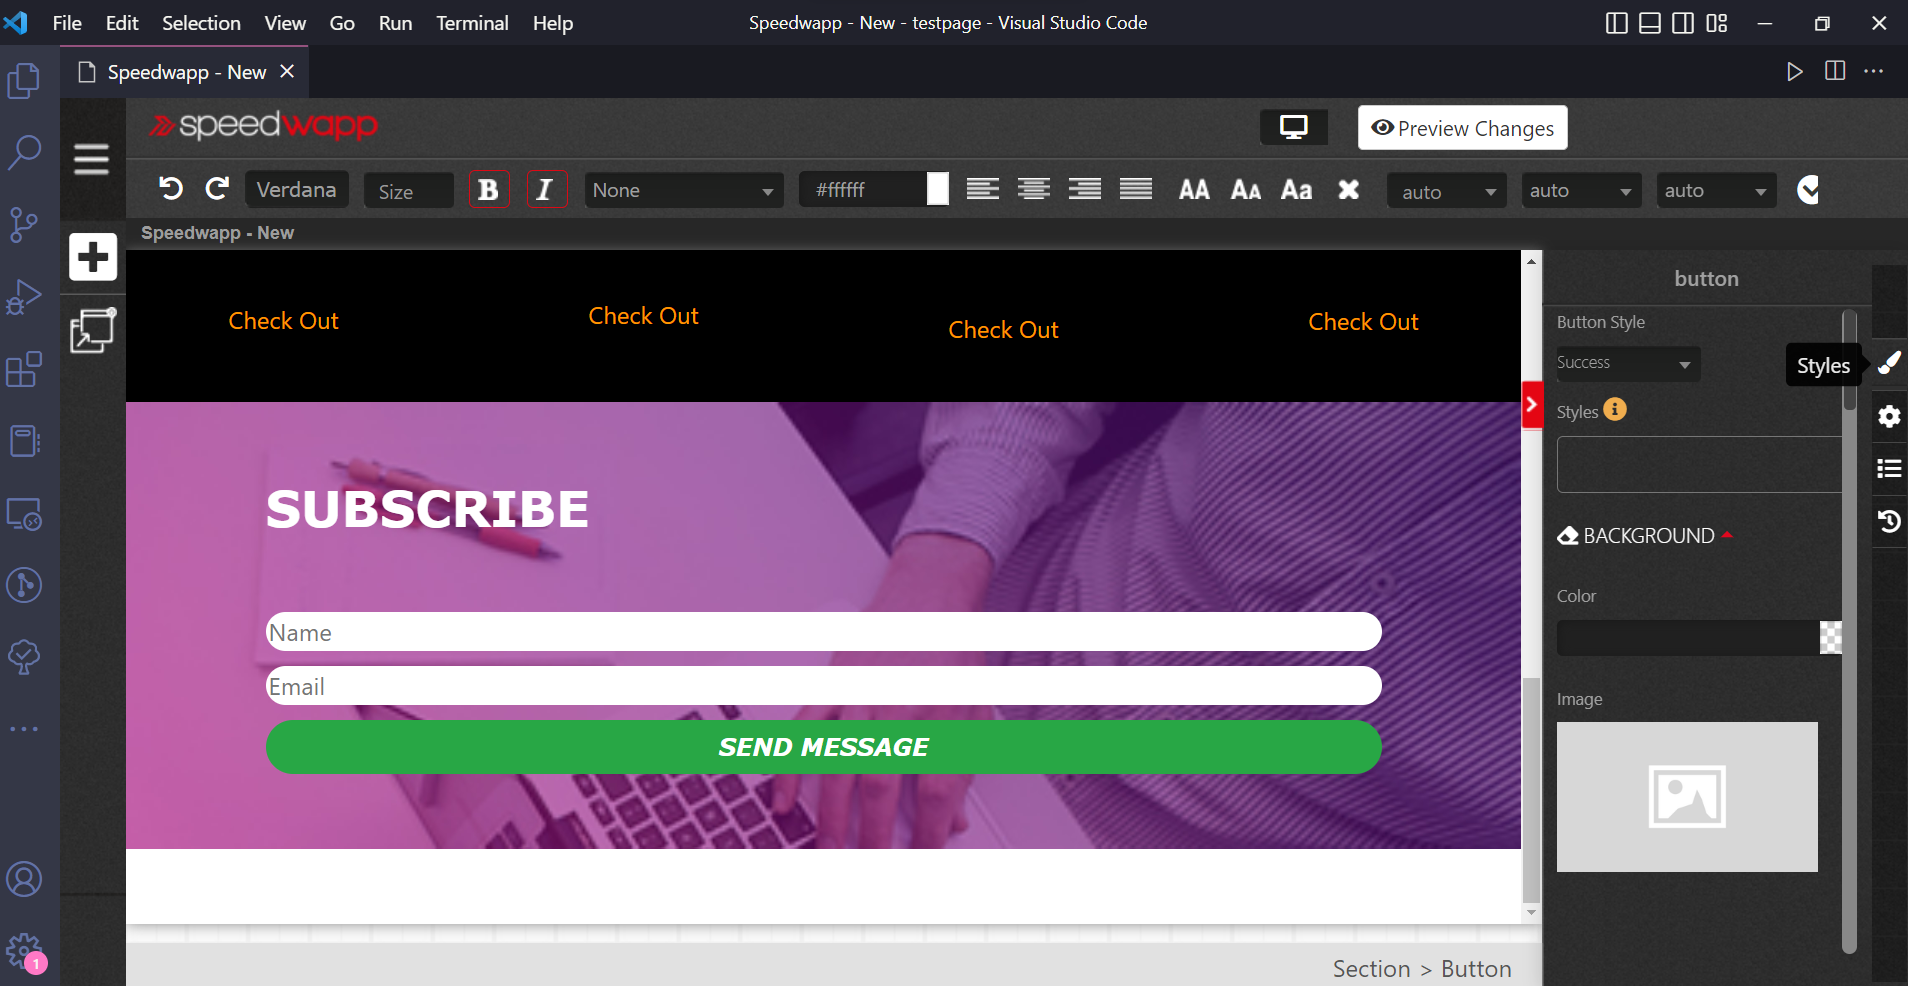
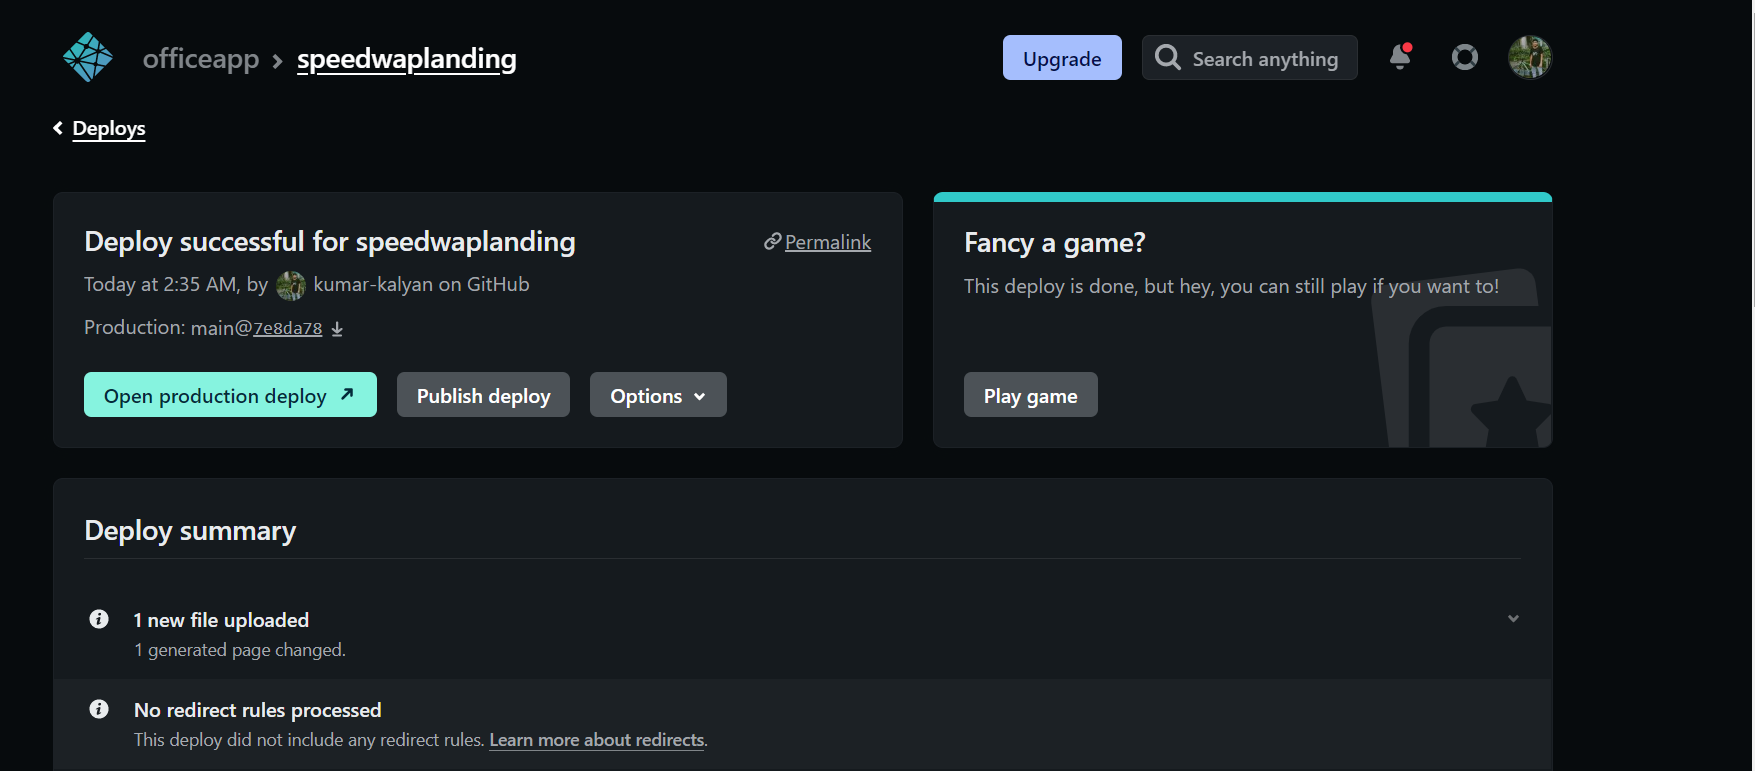
So finally our landing page is ready now let’s deploy it to netlify.
Exporting code & customizations
Click on preview changes at the top and then click on view code
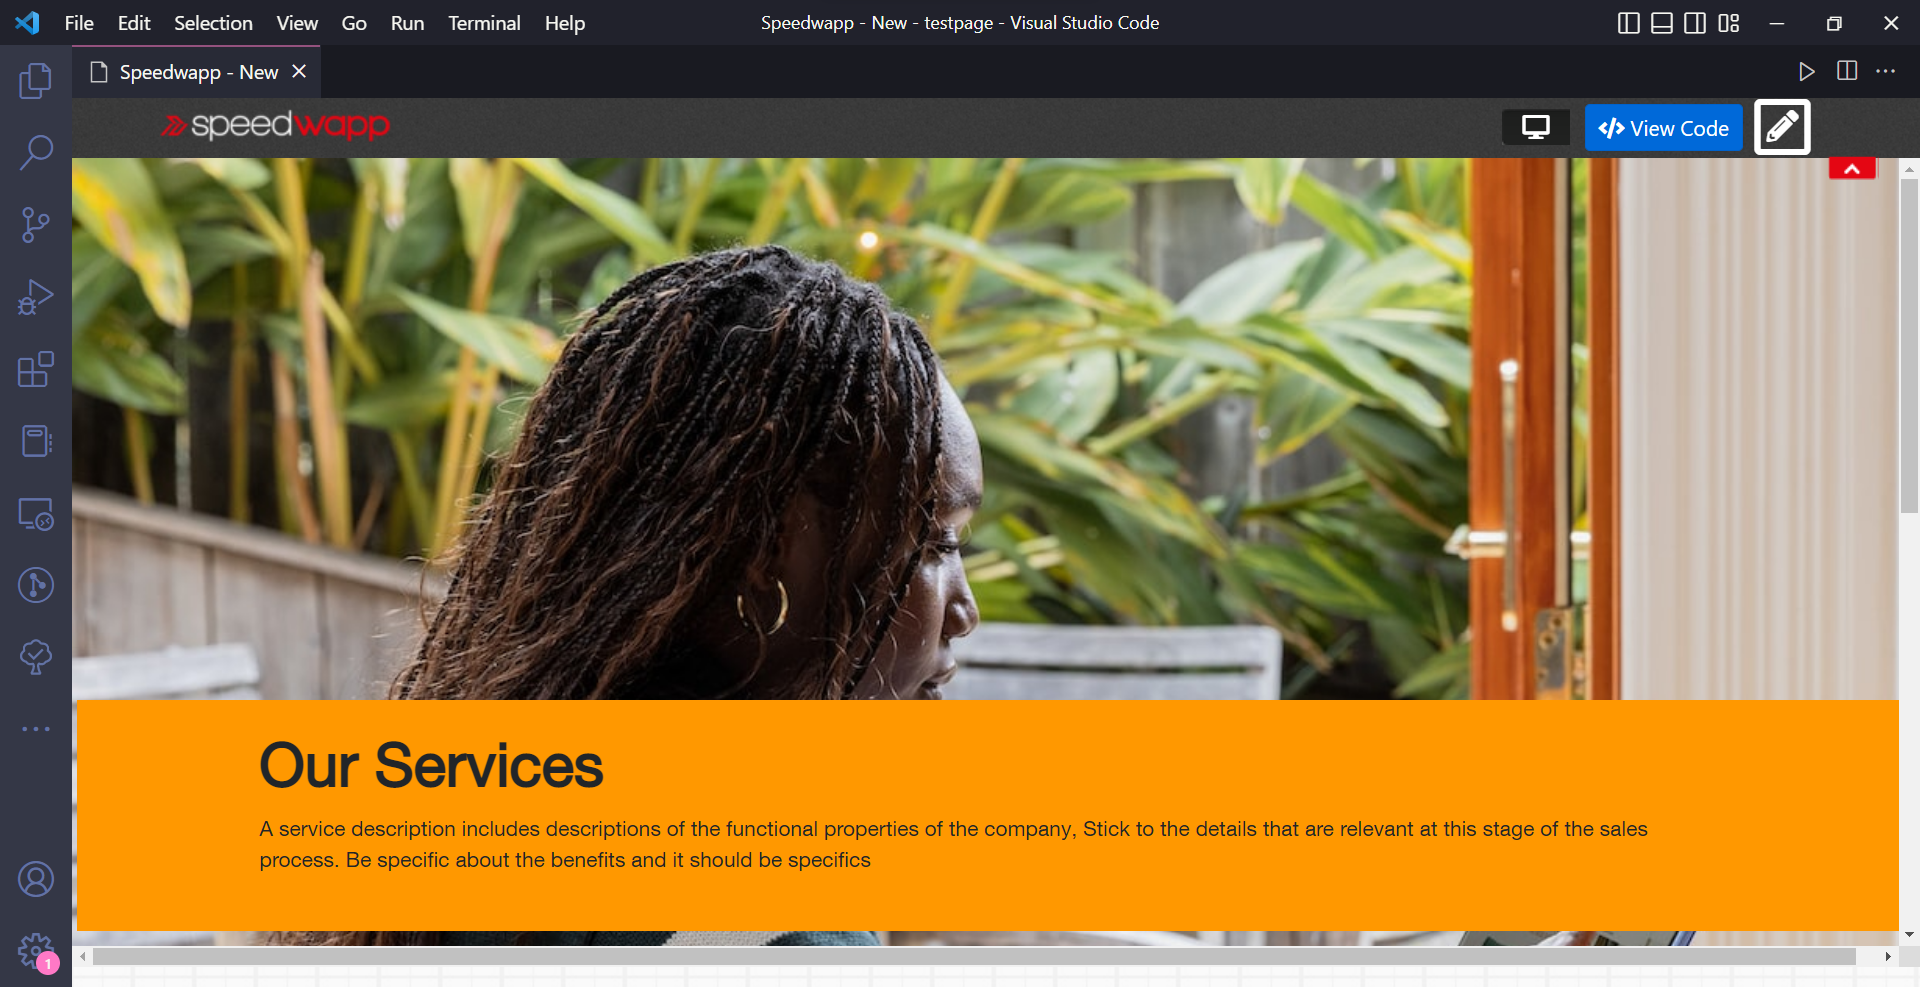
Here you will see the full code of the beautiful webpage which we just made using speedwapp vs code extension. Now click on copy to workspace
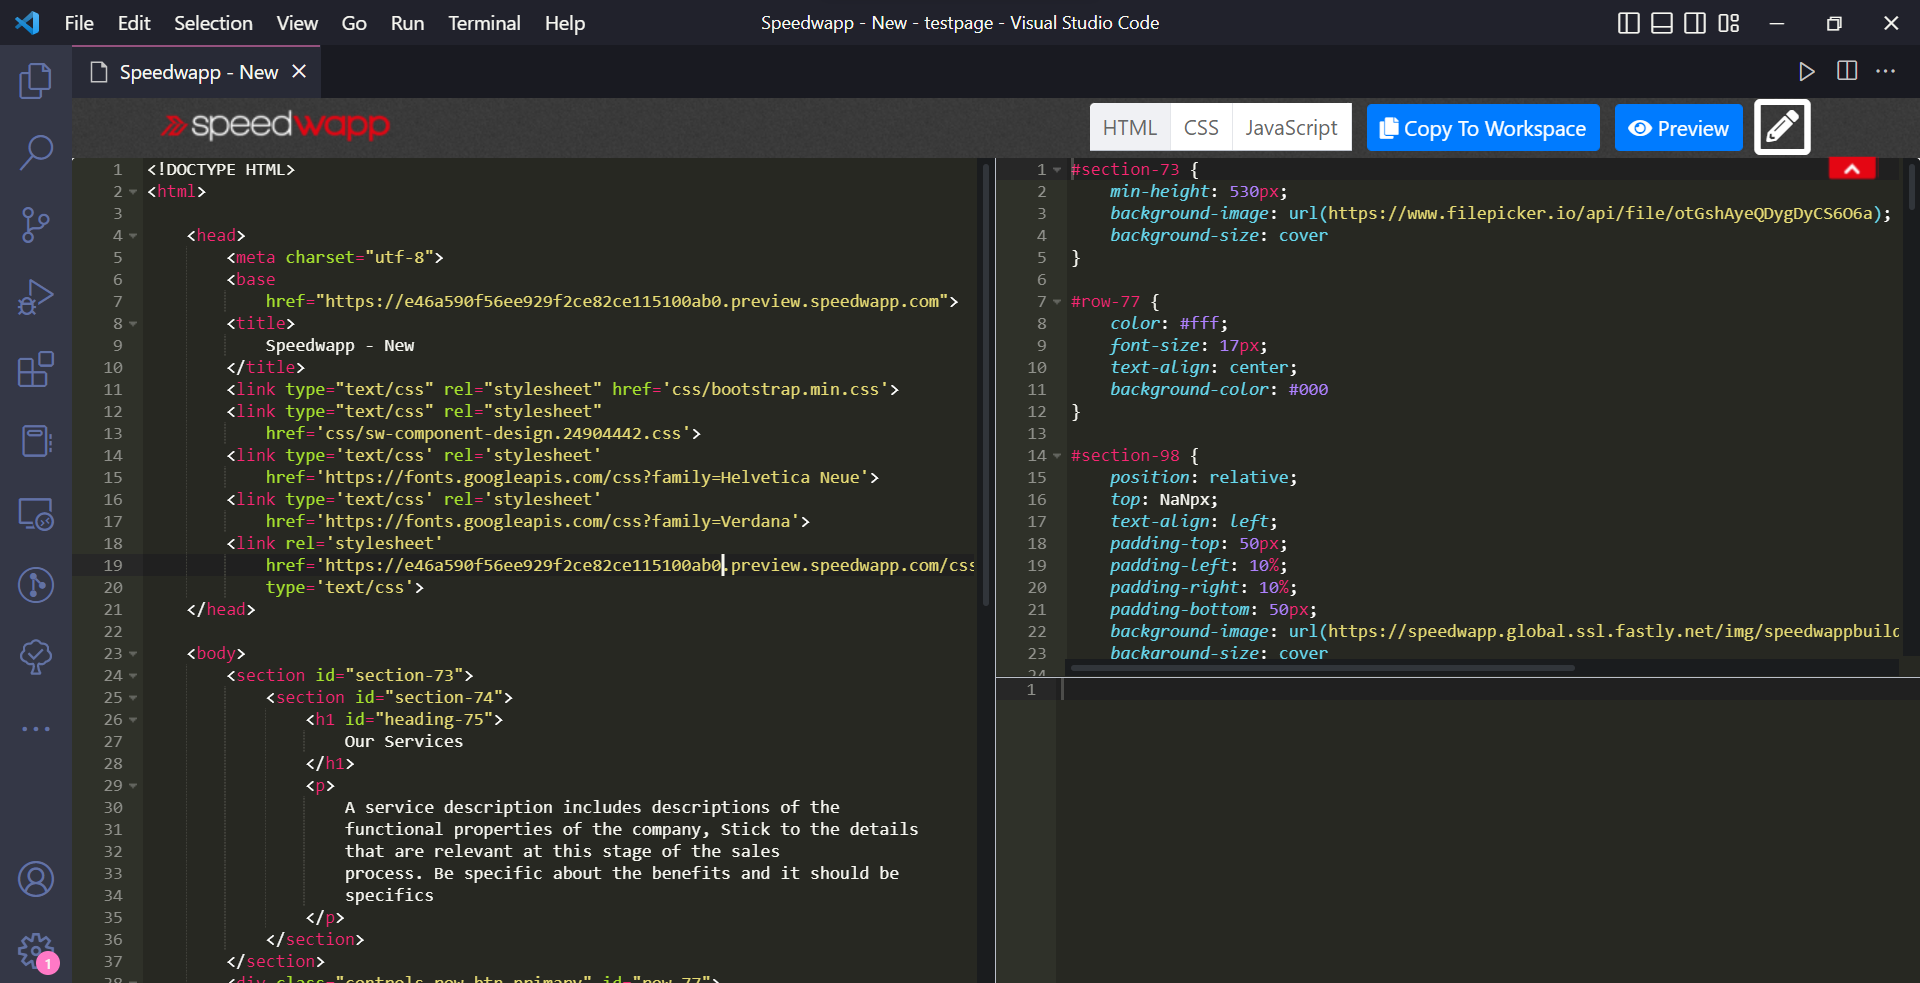
Now you will see the automatically generated code files
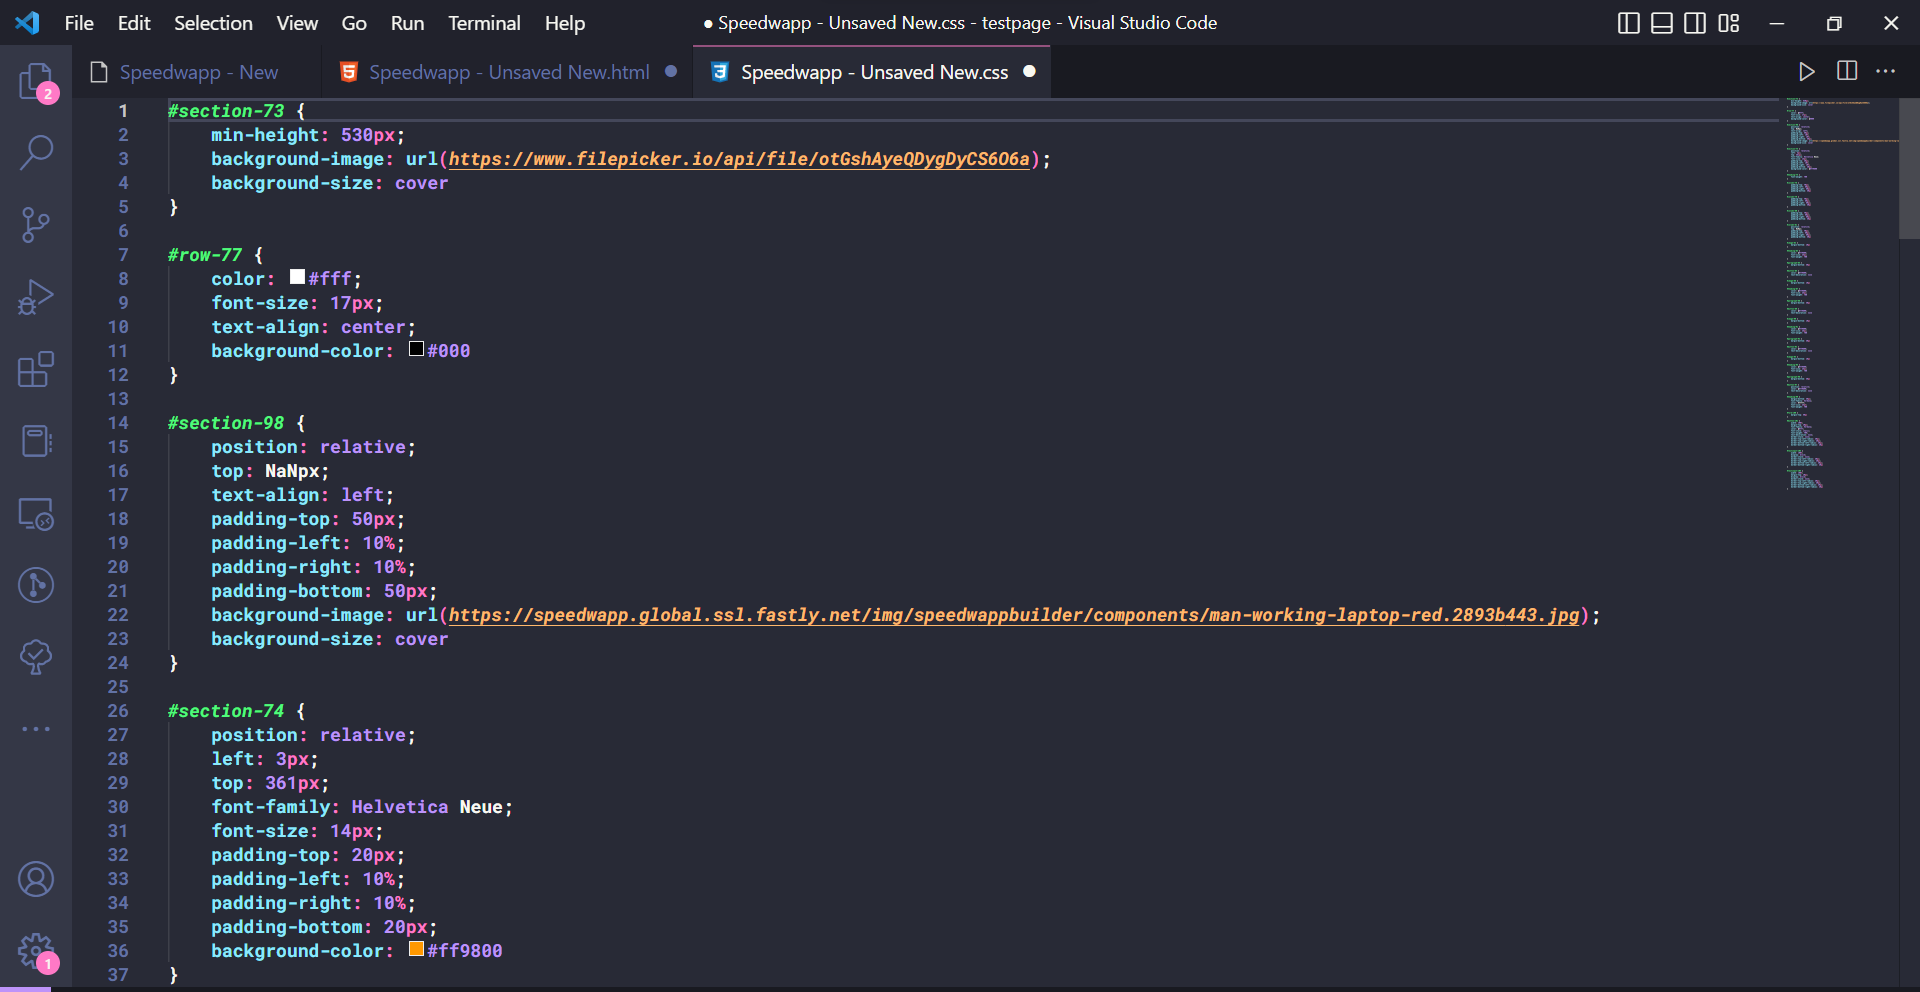
Now move the code to a new folder and upload it to a GitHub repository
Once you are done uploading the code head over to your netlify dashboard and click on add a site select the existing project and choose GitHub provider
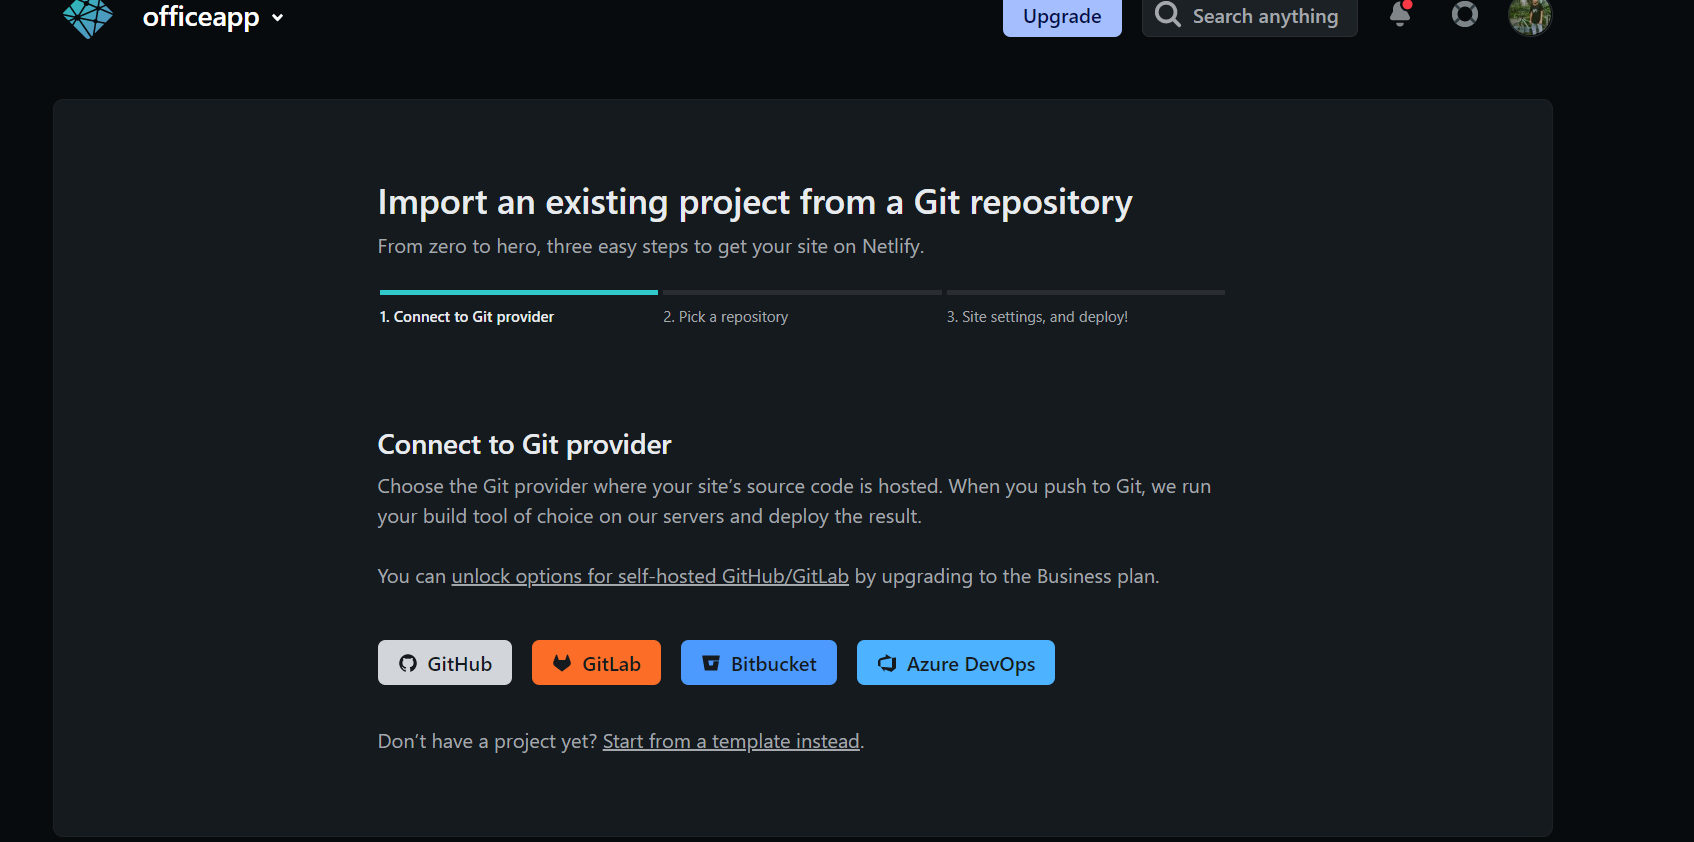
Now select your repository and click on deploy site
Conclusion
Congratulations you have successfully learned to build beautiful and responsive landing pages directly from vs code without writing much code. Feel free to reach me for any queries or simply visit speedwapp website and make sure to share this article with your peers and let me know how much you loved this new tool
Quickly create HTML Boilerplate in VSCode
Are you looking for a way to quickly create HTML boilerplate code in VSCode? Boilerplate code is a term widely used in computer programming, which refers to the repetitive code sections that needs to be used every now and then with little to no alterations. The term actually originated from the steel industry, further spreaded in the newspaper industry and later among computer programmers.
Boilerplate code is often used when referring to languages that are considered verbose, i.e. the programmer must write a lot of code to do minimal jobs, such as HTML.
In this article, we will show you how to quickly create HTML boilerplate code in VSCode.
Create HTML boilerplate using Emmet Abbreviation
This is by far the easiest way to create en empty HTML boilerplate code in VSCode. You don’t have to install anything, as Emmet Abbreviation is built into VSCode.
First, you have to create an empty index.html file. After that, open it up in VSCode and type ! (exclamation mark). You will see a pop up looks like below. 
Now you can either select the option using the mouse or simply press Tab key to put the HTML boilerplate into the file.

Troubleshoot Emmet Abbreviation in VSCode
Please note that the Emmet Abbreviation in VSCode only works if VSCode detects your file as HTML format. In other words, the file you’re editing is recognized as HTML in VSCode Language Mode.
If you type ! and don’t see anything pop up, you must select the proper Language Mode by clicking its icon at the lower right corner of the editor. 
In the drop-down menu, search for HTML, then repeat the steps above to quickly trigger Emmet Abbreviation to create your HTML boilerplate.

Create more complex HTML boilerplate
The syntax for Emmet Abbreviation in VSCode is already very quick, but you can even take things further. In fact, Emmet Abbreviation follows a series of syntax you can use to quickly create a proper HTML document in the shortest time possible.
For example, one can create a nested <ul> using the syntax nav>ul>li , VSCode will trigger Emmet Abbreviation to create :
Similarly, you can quickly generate a <div> tag with multiple classes by entering div.first-class.second-class followed by a Tab.
There are many more quick shortcuts for other types of HTML tags, you can find details at the Emmet Docs Cheat Sheet.
Custom HTML Boilerplate Template
If you’re working on a custom project that uses a specific set of template, but differs significantly from Emmet Abbreviation default HTML boilerplate, you can create your own. Simply follow the steps below.
- First, take your HTML boilerplate and convert it into a JSON escaped string. You can paste it into one of the many online tools, such as this one
- In VSCode, go to File > Preferences > User Snippets to open up the settings for HTML snippets.

- In the drop-down menu, search for HTML to open up html.json .

- Put the following lines inside the brackets, remember to replace JSON_ESCAPED_HTML_BOILERPLATE with the JSON-escaped string from the first step and !cust with your desired custom command.
- Once you save the file, VSCode will be automatically updated with the new settings. In this example, entering !cust followed by a Tab will create us a new, customized HTML boilerplate.

Custom HTML Snippets in VSCode
You can define custom HTML boilerplate snippets of your own in VSCode by editing Emmet configuration. Let’s get started.
First, you have to create a snippets.json file. This is the configuration file where we store all our snippets for Emmet. You can place it anywhere you want, as we are going to point VSCode settings to its path later.
Suppose we’re need to quickly create a <h1> tag wrapped in a <div> tag, fill the snippets.json file with the contents below and save the file.

Now open up VSCode settings by pressing Ctrl + , keyboard shortcut. Search for a setting called Extensions Path and click on Add Item.

Enter the absolute path to the parent directory where our snippets.json is placed. In this example, we’re using /home/nl/emmet/ .

Once we added the settings for Emmet, VSCode loads the configuration immediately. You can enter a few letters and VSCode can autocomplete the rest like the following image.
We hope that the post helped you learn how to quickly create a HTML boilerplate as well as HTML snippets in VSCode and further improve your programming workflow. You may want to check out our other guides on Automate your workflow with VSCode Tasks , Format JSON in VSCode or Fix IntelliSense in VSCode. All our VSCode tutorials can be found at VSCode Tutorials. If you have any question, don’t hesitate to let us know in the comments section below.
Как в vs code сделать шаблон html
Найдено в Vscode Настроить -> Фрагменты кода пользователя Введите в поле ввода html И нажмите на первый html.json :

При первом его вводе первый html.json Не может принести .json Суффикс, не нужно контролировать html Просто войдите.
Мы входим html.json Страница, здесь мы пишем свои собственные шаблоны:

Следующим шагом является написание нашего шаблона. Наш шаблон нуждается примерно в следующих элементах:
- Базовая архитектура HTML.
- Представлен пакет Vue script дорожка.
- Некоторая базовая структура кода Vue.
Я подготовил шаблон, шаблон выглядит следующим образом:
Скопируйте вышеуказанный шаблон в html.json Нормально конечноПуть должен стать вашим собственным локальным путемЕсли вам неудобно, вы можете изменить все остальное.
После сохранения мы создаем .html Файл, введите vue и нажмите Enter, чтобы автоматически сгенерировать нужный нам шаблон. Пример шаблона схемы:


Необходимое объяснение
Чтобы избежать ненужных ошибок при смене шаблона, я вкратце расскажу о вещах в шаблоне:
- Не запутайтесь в начале: "Html5-Vue" , Это просто имя шаблона.
- "prefix": "" Здесь указано ключевое слово шаблона триггера, здесь я указываю слово триггера.
- Наши шаблоны находятся в "body":[] Написано в.
- Используйте двойные кавычки для каждой строки кода шаблона "" Приходите включены.
- Если двойные кавычки также включают двойные кавычки в середине кода, вам нужно использовать escape-символы \ Побег.
- \n Означает новую линию, \t Это символ табуляции, который используется для отступа шаблона при его создании, что облегчает чтение сгенерированного шаблона.
- Появляется в шаблоне $1 Представляет курсор, его положение является положением курсора по умолчанию, может быть несколько курсоров: $2 , $3 , $4 Подождите.
Выше приведен учебник для быстрого создания пользовательского шаблона кода в Vscode. Если у вас есть какие-либо вопросы, пожалуйста, прокомментируйте.
Интеллектуальная рекомендация

Проект Scramboot и реализация Vue проекта Передние и задние концы и взаимодействия баз данных
Vue Project (вовлечение междоменных проблем) Перекрестный 1, первая установка Axios с Vue-Axios 2, настроить Axios в Main.js 3. Настройте междоменную информацию в index.js в папке конфигурации.
29.java- анонимный внутренний класс
Анонимный внутренний класс — это частичный внутренний класс без имени, который подходит только для одного класса. В разработке часто есть такой класс, только один раз, используйте его один раз, вы мож.
Летучий скрипт
Boot Чтобы открыть различные среды, IDE, каждый раз, когда вы щелкнули на значок настольных компьютеров, ощущается очень неприятно. Использование языка сценариев BAT под окном, напишите чрезвычайно пр.

Самоорганизующаяся нейронная сеть SOM
Самоорганизующаяся нейронная сеть SOM Создавайте красивые картинки .
CodeForces-136A представляет 【Практические вопросы по C ++】
A. Presents time limit per test2 seconds memory limit per test256 megabytes inputstandard input outputstandard output Little Petya very much likes gifts. Recently he has received a new laptop as a New.
How To Easily Write HTML5 Boilerplate Code In Visual Studio Code
Visual Studio Code is a very popular IDE among web developers. If you are a web developer, you need to fill below code every time a new file is created.
We do not have to write again and again in Visual Studio Code. There is a shortcut to add above content easily to a HTML file.
HTML5 Shortcut
To try the shortcut, create a new HTML file in Visual Studio Code. Then, start typing html .
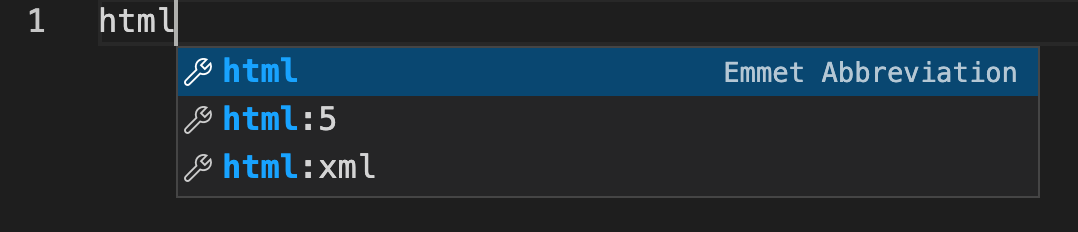
From the intellisense dropdown, select html:5 and press Enter key. Visual Studio automatically brings the boilerplate HTML5 code to the file.
The shortcuts like html:5 are called Emmet Abbreviation. If you are working with some libraries like React, and you wish to have a shortcut to create a component, you can search for React emmet plugins in VS Code. It is available. ES7+ React/Redux/React-Native snippets is one such extension.
Quickly create HTML Boilerplate in VSCode
Are you looking for a way to quickly create HTML boilerplate code in VSCode? Boilerplate code is a term widely used in computer programming, which refers to the repetitive code sections that needs to be used every now and then with little to no alterations. The term actually originated from the steel industry, further spreaded in the newspaper industry and later among computer programmers.
Boilerplate code is often used when referring to languages that are considered verbose, i.e. the programmer must write a lot of code to do minimal jobs, such as HTML.
In this article, we will show you how to quickly create HTML boilerplate code in VSCode.
Create HTML boilerplate using Emmet Abbreviation
This is by far the easiest way to create en empty HTML boilerplate code in VSCode. You don’t have to install anything, as Emmet Abbreviation is built into VSCode.
First, you have to create an empty index.html file. After that, open it up in VSCode and type ! (exclamation mark). You will see a pop up looks like below.
Now you can either select the option using the mouse or simply press Tab key to put the HTML boilerplate into the file.
Troubleshoot Emmet Abbreviation in VSCode
Please note that the Emmet Abbreviation in VSCode only works if VSCode detects your file as HTML format. In other words, the file you’re editing is recognized as HTML in VSCode Language Mode.
If you type ! and don’t see anything pop up, you must select the proper Language Mode by clicking its icon at the lower right corner of the editor.
In the drop-down menu, search for HTML, then repeat the steps above to quickly trigger Emmet Abbreviation to create your HTML boilerplate.
Create more complex HTML boilerplate
The syntax for Emmet Abbreviation in VSCode is already very quick, but you can even take things further. In fact, Emmet Abbreviation follows a series of syntax you can use to quickly create a proper HTML document in the shortest time possible.
For example, one can create a nested <ul> using the syntax nav>ul>li , VSCode will trigger Emmet Abbreviation to create :
Similarly, you can quickly generate a <div> tag with multiple classes by entering div.first-class.second-class followed by a Tab.
There are many more quick shortcuts for other types of HTML tags, you can find details at the Emmet Docs Cheat Sheet.
Custom HTML Boilerplate Template
- First, take your HTML boilerplate and convert it into a JSON escaped string. You can paste it into one of the many online tools, such as this one
- In VSCode, go to File > Preferences > User Snippets to open up the settings for HTML snippets.
- In the drop-down menu, search for HTML to open up html.json .
- Put the following lines inside the brackets, remember to replace JSON_ESCAPED_HTML_BOILERPLATE with the JSON-escaped string from the first step and !cust with your desired custom command.
- Once you save the file, VSCode will be automatically updated with the new settings. In this example, entering !cust followed by a Tab will create us a new, customized HTML boilerplate.
Custom HTML Snippets in VSCode
You can define custom HTML boilerplate snippets of your own in VSCode by editing Emmet configuration. Let’s get started.
First, you have to create a snippets.json file. This is the configuration file where we store all our snippets for Emmet. You can place it anywhere you want, as we are going to point VSCode settings to its path later.
Suppose we’re need to quickly create a <h1> tag wrapped in a <div> tag, fill the snippets.json file with the contents below and save the file.
Now open up VSCode settings by pressing Ctrl + , keyboard shortcut. Search for a setting called Extensions Path and click on Add Item.
Enter the absolute path to the parent directory where our snippets.json is placed. In this example, we’re using /home/nl/emmet/ .
We hope that the post helped you learn how to quickly create a HTML boilerplate as well as HTML snippets in VSCode and further improve your programming workflow. You may want to check out our other guides on Automate your workflow with VSCode Tasks , Format JSON in VSCode or Fix IntelliSense in VSCode. All our VSCode tutorials can be found at VSCode Tutorials. If you have any question, don’t hesitate to let us know in the comments section below.
How to automatically write html structure
I am using visual studio code .I have the php extension installed already . But it is very repetitive to create each php file with the base structure like this one . Since it does’nt automatically insert it for me .
Is there anyway or short key to quickly copy this structure into the newly created php file ? without using control+C control+V from a note ?
5 Answers 5
If you are using VS code then you can use this command shift + 1 and enter to auto-populate HTML Doctype in HTML or PHP.